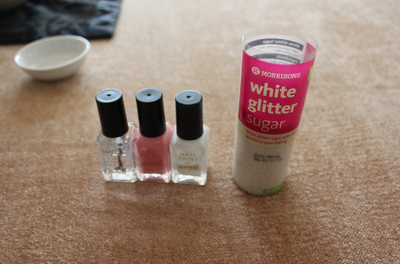
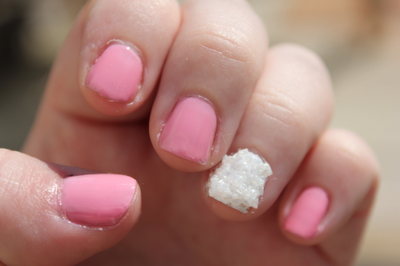
It is dead simple to do and looks really lovely in my opinion. All I did was paint my nails in Barry M Strawberry Ice cream with my ring fingers in Barry M Matt White. The difficulty is with the ring finger. Unfortunately, my white is almost empty and what is left is really thick and horrible. However, this makes it very sticky. All I did was put on the first coat and once that was dry put on a really thick second coat. Once I'd put on this second coat, I put the sugar lumps on some paper and rolled my nail in it making sure it touched the edges and bottom of my nail. Take it away and voila! You have a sugar nail.
Make sure you put plenty of top coat on the sugar nail otherwise it is likely to fall off. But in my eyes, it looks fabulous! I love it!
Word of warning - you are using sugar! Even those who aren't doing Chemistry should know that sugar dissolves in water. When I washed my hands my sugar nail started to dissolve and fell away from my nail in a big lump. I only put 2 layers of top coat on and maybe if I'd put more on it would have lasted.
I've decided that for a night out these nails are fantastic! However, they have no longevity where water is concerned. For one night you can get away with some anti-bac in your bag but I'm not sure you could last any more than 2 days without putting water to your hands. It looks fantastic though and is super simple. You could re-do it every day and it would only take ten minutes or so. Maybe I should put faith in this technique...


No comments:
Post a Comment